How to Install Animatronic Dinosaur’s Teeth

We have over ten years of experience in making animatronic dinosaurs and also have rich after-sales service experience. Among the dinosaur exhibits on-site, the one with high repair rate is “installing dinosaur teeth”. Repair rate here can also be equivalent to “replacement“.
We not only sell dinosaurs, but also provide relatively important accessories for free. Dinosaur teeth made of resin are one of the accessories. Especially for the teeth of carnivorous dinosaurs, we usually have dozens or even hundreds in place for later replacement.
Here is the guidance on the replacement steps. Welcome to read it carefully.
QUICK FACTS:
#1. Choose suitable teeth according to the dinosaur type
#2. Prepare the materials and tools for tooth replacement
#3. Manually install the teeth
1. Choose suitable teeth according to the dinosaur type

Usually we produce carnivorous dinosaur models and herbivorous dinosaur models. The two dinosaur species have different tooth styles respectively.
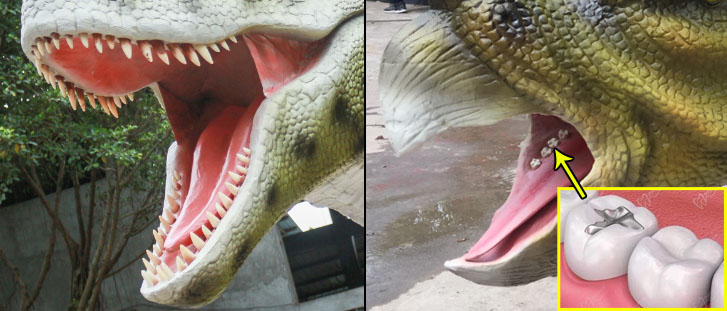
(A). Carnivorous dinosaurs are usually equipped with sharp teeth and looked somewhat like sharp serrations as a whole.
(B). Herbivorous dinosaurs are usually equipped with posterior molars similar to those of humans.
After selection, place them beside the dinosaurs that need teeth replacement, and start preparing the required adhesive materials.
2. Prepare the materials and tools for tooth replacement

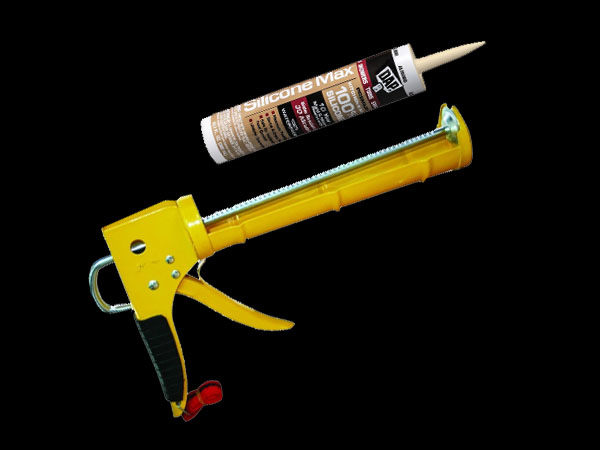
Glass cement or Silicone – It was mainly used to bond teeth and stick them in the mouths of dinosaurs
Glue Gun – Squeeze out the glass cement or silicone evenly
3. Manually install the teeth

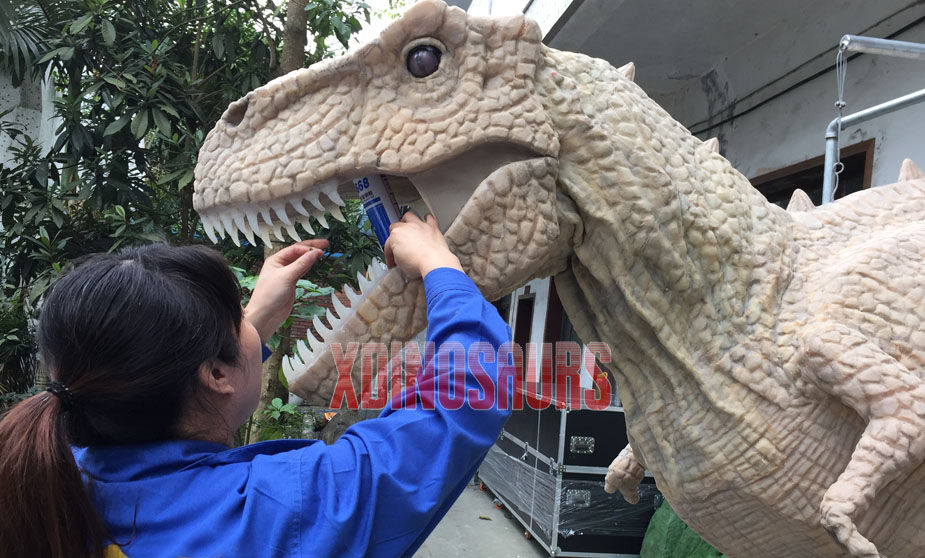
- Step 1 – Prepare teeth of the same dinosaur species and similar sizes.
- Step 2 – Install the glass cement / silicone (Tubular) on the glue gun.
- Step 3 – Squeeze the glass cement / silicone into the holes in the dinosaur’s mouth. (Don’t fill it up completely. Leave a little space inside. Otherwise, when teeth are pressed in, they are likely to spill out)
- Step 4 – Insert the teeth into the hole filled with glass cement or silicone.
- Step 5 – Wait for the glass cement or silicone to dry in the next hour to complete the teeth replacement.
NOTICE: If you find that there are not enough teeth when replacing them, please contact us to obtain a sufficient number of teeth. We can send the teeth by express delivery or other ways.
Conclusion
The reason for the high rate of teeth replacement is due to improper on-site management. When children see dinosaurs, they will touch the dinosaurs’ teeth with their hands. Some will even directly pull out the dinosaurs’ teeth. This led to the dinosaur model’s teeth mysteriously “disappearing” during the 1-2 months of the exhibition, forcing customers to replace them. So please do a good job in on-site supervision and management. In this way, even if it’s been the past 10 years, the dinosaur teeth won’t need to be replaced.


Leave a Reply